Facebook’s goal is to put your ad in front of users who will take you up on your call to action. To make this goal a reality, they created the Facebook pixel. It’s as futuristic tech as it sounds…
The pixel is a piece of code that goes on your website that reports back to Facebook whether or not someone performed the call to action on your website. For example, if your call to action is to buy a tea bundle, the Facebook pixel code on your tea website is going to tell Facebook whether or not a user that saw your ad and clicked through to your website:
- Put the tea in their cart
- Bought the tea
- Didn’t do either of these
As a marketer—the pixel is badass. It can help you reach the users who are most likely to take your desired action, making your ad budget go way farther than it used to be able to. For example, if they know that a user was just looking at different tea flavors on ANOTHER tea company’s website… they can show your ad to that user. Pretty cool, huh?
But, here’s the problem. The pixel needs you to help it out a bit. While the pixel can pull from their *impossible to comprehend database*, that doesn’t mean they’re going to nail it the first time around.
That’s where training your pixel comes in.
Why You Need to Train Your Pixel
Facebook’s goal is to get you conversions and your goal is to help Facebook…get you conversions. When you train your Facebook pixel, you run a campaign that isn’t necessarily optimized to make you money. It’s optimized to train your pixel.
This is called the Learning Phase because like a post-graduation gap year you’re setting your pixel out into the world to go and learn new things. It’s going to come back with a ton of new knowledge and it’s going to use its new knowledge to get you more conversions.
During this Learning Phase, your ad set is going to be seen by different people who are within the target audience you chose. Facebook’s going to keep tabs on who performs actions and who doesn’t and then help you create a custom audience based on this initial target audience.
Start training your pixel:
- Choose a low-tier objective like video views, website clicks (not asking to purchase), etc.
- Create ONE ad set with a CTA for the low-tier objective
- Choose your target audience
- Let the ad set run for approximately 50 conversions or at least one week
- Do not change anything once you’ve published your ad set
It’s time to summon your inner patience, because as much as you want to tweak your copy or change your objective—you can’t. This is like choosing to train your dog to “Lay Down” in the middle of teaching them how to “Sit” for the first time. They’re going to be super confused, you’re not going to get the end result you wanted, and you’re going to have to start fresh another day. 
You can shut these ads off once you’ve reached about 50 conversions or you’ve hit 5–7 days.
Congrats, you trained your pixel! While it’s not nearly as cute as your dog sitting when you ask them to, you’ll get that warm, fuzzy feeling when you start to get conversions and see real people wanting your products and services.
Now that you’ve trained your pixel, you’ll be able to use this as a custom audience for your future campaigns.
Just a quick note:
If you have a larger budget, you might be able to hit 50 conversions within a few days. Since Facebook uses your budget to show your ad to more people, you’ll be able to get more eyes on your ad in less time. If this is the case, you can shut off this ad set and start running your purchase conversion optimized ads to this new custom audience.
If you have a smaller budget—no big deal. Just wait for 50 conversions or 5-7 days (whichever comes first) and then start running your conversion-optimized ads to your new custom audience.
Create a Custom Audience Based on Your Trained Pixel
Let’s say your Learning Phase ad set had the conversion objective of video views. You were able to get 50+ people to watch your video and now you’re ready to run your real ads to them.
When you choose your audience for these ads, you’ll have the option to choose custom audiences that weren’t available to you PRIOR to training your pixel.
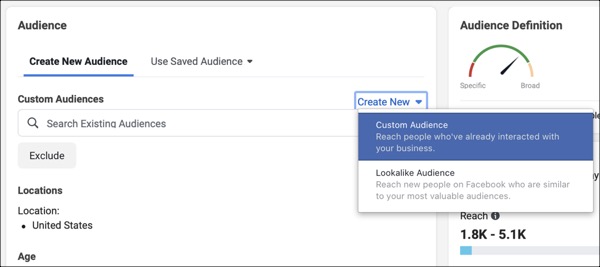
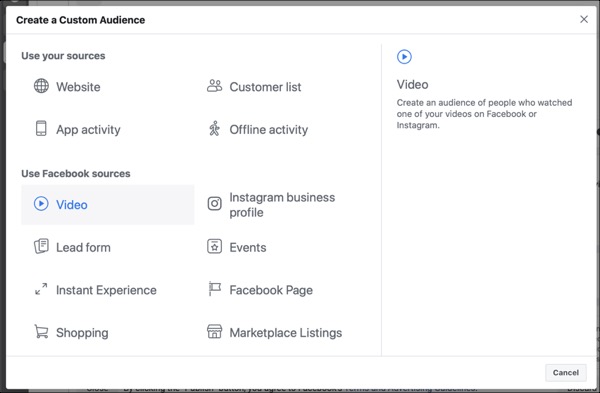
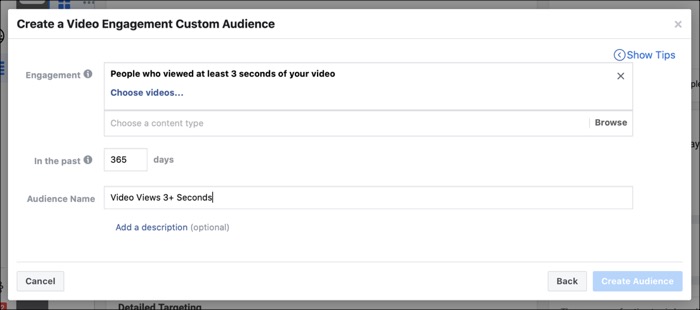
Step One: Go to your Ad Set and click “Custom Audience”
Step Two: Choose “Video Views”
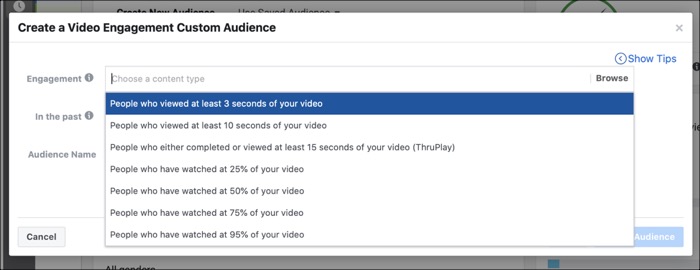
Step Three: Choose the Video View durations (you can choose more than one)
Step Four: Choose the video viewers you want to show the ad set to based on how long ago they viewed your video
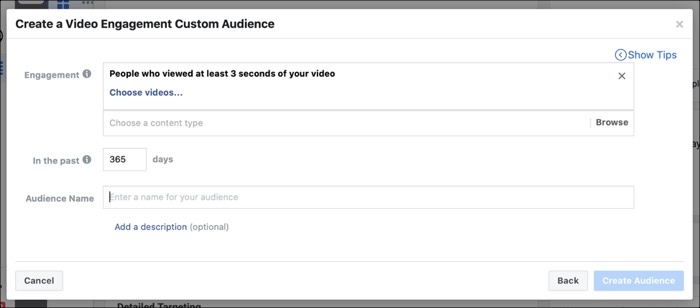
Step Five: Name your custom audience
Now you’re advertising to a warm audience of people Facebook knows is interested in your product. Instead of asking them to convert the first time they ever see your business, you’re asking them to convert once they’ve gotten a better chance to know you.
Marketing is like any relationship—you can’t just walk up to somebody in the produce aisle and ask them to marry you. You both need to get to know each other first. By training your Facebook pixel, you skip the produce aisle proposal and build a relationship first, ask them to marry you (aka buy your products) later.
And just like that, you’ve trained your pixel and now you can optimize your future ads based on everything your pixel now knows. Technology is nuts…
Takeaways
- Training your Facebook pixel creates a custom audience of people most likely to convert for your future offers
- Train your pixel with a low-tier ask objective like video views or reading a blog post on your website
- Don’t change anything about your ad set for one week or at least 50 conversions
- Create a custom audience based on the conversions
The post How to Train Your Facebook Pixel appeared first on DigitalMarketer.
About us and this blog
We are a digital marketing company with a focus on helping our customers achieve great results across several key areas.
Request a free quote
We offer professional SEO services that help websites increase their organic search score drastically in order to compete for the highest rankings even when it comes to highly competitive keywords.
Subscribe to our newsletter!
More from our blog
See all postsRecent Posts
- Web Hosting September 26, 2023
- Affiliate Management September 26, 2023
- Online Presence Analysis September 26, 2023