A Guide to Google Analytics Integration In Screaming Frog
- October 20, 2020
- Uncategorized
A Guide to Google Analytics Integration in Screaming Frog
The Screaming Frog integration with Google Analytics has been around for a few years now, but it has been upgraded since then, so below I’ll talk through how to use the integration and how it can help you in your day-to-day tasks.
There have been further integrations in Screaming Frog over the years too, with Google Search Console, PageSpeed Insights as well as third party tools such as Majestic, Ahrefs and Moz – but those are for other blogs!
Setting up Google Analytics In Screaming Frog
Gaining Access
The first step is to gain access to the Google Analytics API. First go to Configuration > API Access > Google Analytics and this window appears.
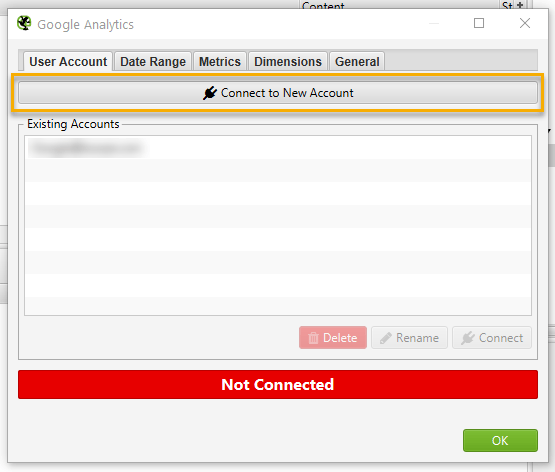
Here I’ve blurred out our existing account, but you will want to click on connect to new account as highlighted.
Logging In
This takes you to the screen below which looks like you regular Google login screen.
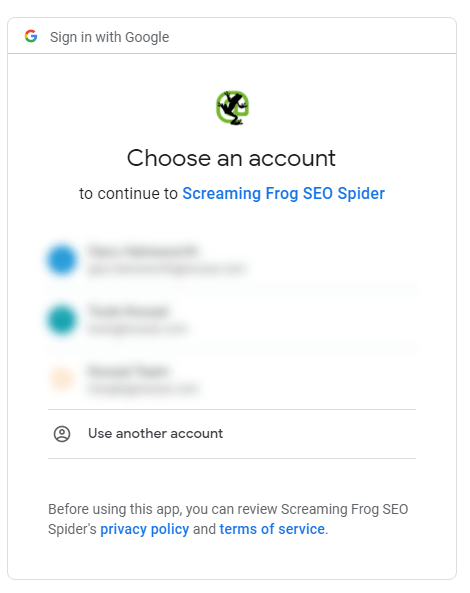
Follow the instructions and allow Screaming Frog to connect, then you can close your browser and go back to Screaming Frog.
Configuration
You’ll then see a window showing your list of Google Analytics account and a few other tabs across the top, something like this:
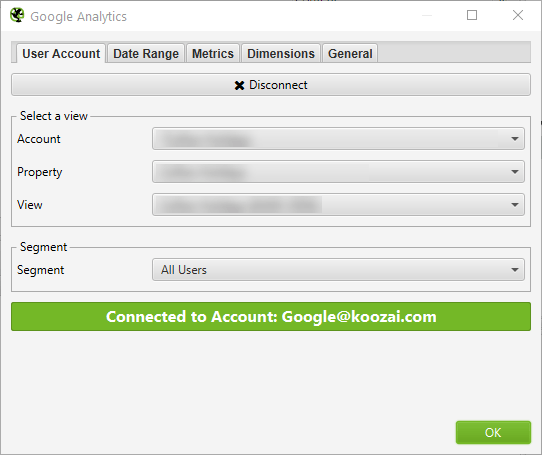
You can also see the ‘Segment’ drop down above. This is great for larger sites and drilling down into specific issues, but for this exercise we’ll stick to leaving it as the default ‘All Users’.
Now going through the tabs on the top, the first is date range, which is perfectly straightforward.
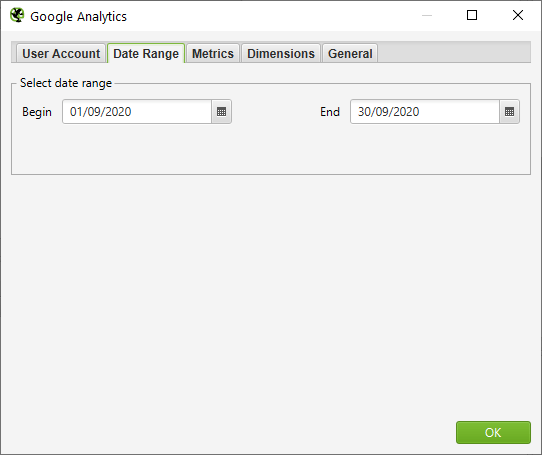
Conparisons aren’t available here directly (this would make Google servers very unhappy), but if you need to look at comparisons, it is probably best to use the list mode in screaming frog and run two crawls then combine the data.
The next tab is Metrics. This will show a list of familiar metric names if you’re used to using Google Analytics, and is fairly straightforward.
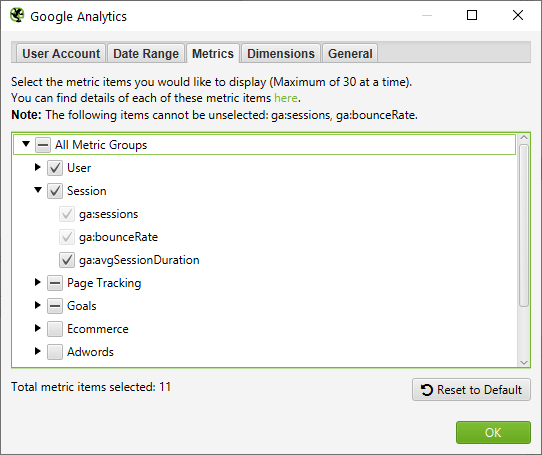
There are 11 metrics selected by default, but you can expand and select the metrics you need at your leisure. The limit on metrics is set at 30, but this should be more than enough for your needs. The only reference point here you might need here is under the Goals subheading, which lists out the goal numbers rather than your custom names (e.g: “ga:goal1Completions” rather than “Contact us submissions”).
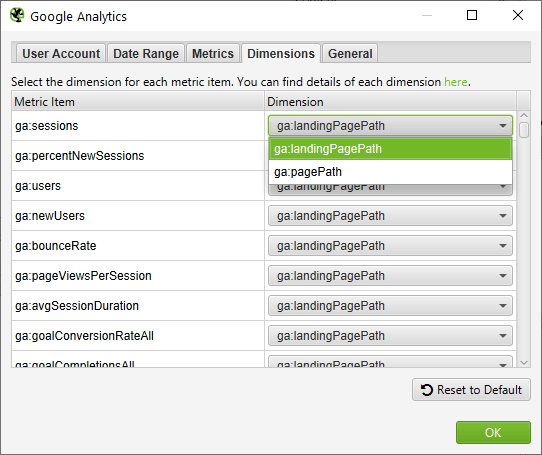
The Dimension tab lets you choose how the information is displayed, which is fairly straightforward on most metrics as seen below.
The last tab is for General options.
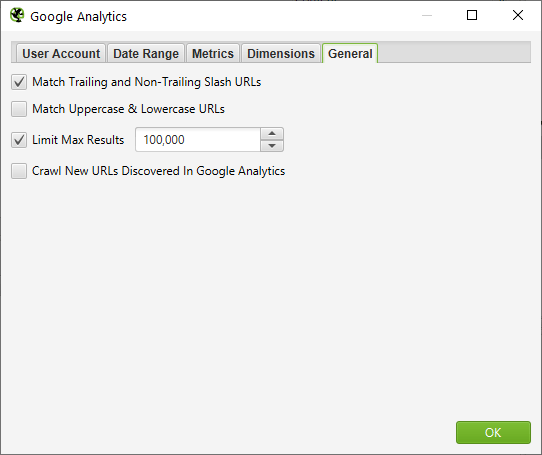
This helps with some data hygiene for duplicates and limits results if you are looking at particularly large websites.
Running The Crawl
Once you’ve done the setup, you just run the crawl like you would normally, using whichever other settings you need. The results are shown at the bottom of the right-hand side list.
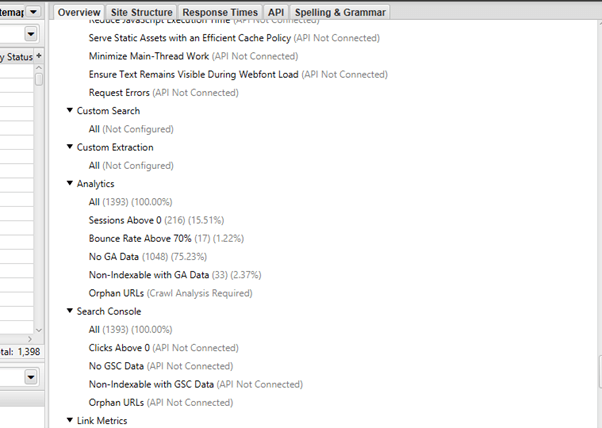
The default segments to analyse are:
- Sessions Above 0
- Bounce Rate Above 70%
- No GA Data
- Non-Indexable With GA Data
- Orphan URLs (requires crawl analysis)
These can’t be changed, but they show a good overview of poorer performing pages and possible issues.
Internal URL Analysis
If you go back up to the top on the right-hand side and navigate to Internal, you’ll be able to see tha GA data on an individual URL level. This is shown in the bottom left portion, but is also included in the export option, letting you see the GA data alongside the usual URL information such as Indexability, Titles, H1s, Canonicals, etc. This export is great for giving further informaiton when analysing a site, or for giving yu a priority list when working through URLs.
Practical Uses
- 2 for 1 – Ususally you’d have to look at crawl data and look at GA separately. The method above puts that all into one sheet for easier understanding for you and your team.
- Conditional Formating – Colour coding the users, sessions, bounce rate etc can help you spot outliers and abnormalities on the site, both good and bad!
- Segments – Running crawls on different sections (URLs in list mode for example) and with different GA segments can help bolster reporting and give good insights.
The uses are quite far reaching, so whatever you’d normally look at in Screaming Frog and Google Analytics, you can get that in one convenient place. If you’ve found any handy tricks or methods, let us know!
The post A Guide to Google Analytics Integration In Screaming Frog appeared first on Koozai.com
About us and this blog
We are a digital marketing company with a focus on helping our customers achieve great results across several key areas.
Request a free quote
We offer professional SEO services that help websites increase their organic search score drastically in order to compete for the highest rankings even when it comes to highly competitive keywords.
Subscribe to our newsletter!
More from our blog
See all postsRecent Posts
- Web Hosting September 26, 2023
- Affiliate Management September 26, 2023
- Online Presence Analysis September 26, 2023

